|
JANE'S F/A 18 : Air to Ground
by Leonard "Viking1" Hjalmarson |
||||
|
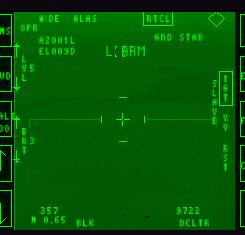
I made a second run at the target practice area to learn how to use the AT FLIR component. First, I called up the display in the up front MFD. Then I went from black hot to white hot mode by clicking where you see the BLK letters. Next I slewed the display down from its default boresight setting to locate the target area.
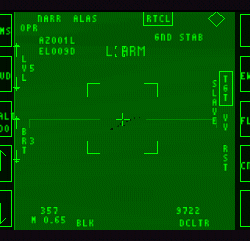
 AT FLIR Ground Stabilized Next I clicked on the TGT button at screen right to go to Ground Stabilized mode. Then I slewed the target reticule over some white dots and then zoomed the display from WIDE to Narrow view.
 Next I went to extremely narrow view so that I could choose an individual target. Note that all this can be done on the display itself and I have programmed the cursor control on my TQS to the SHF ARROW functions. You can also adjust the brightness of this display using the LVL and BRT indicators you see at the left.

|
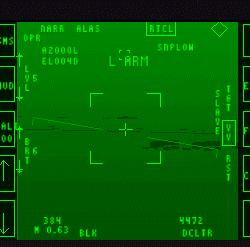
 Note the diamond over the target. Once the + symbol was over the target I used the designate (ENTER) function to lock the target. I was rewarded with the AUTOTRK designation in the display. I could now engage the laser if I had guided bombs, which I wasn't carrying. Instead I had Mavericks on the rails. If you bring up the larger image above you will see the red diamond in the HUD also indicating the target. Next I swapped to another target and used the AT FLIR to designate for a Maverick launch. The hardened target didn't respond to my single Maverick!  Note that you can use radar to designate for the AT FLIR, or you can designate directly. In this next shot I had the AT FLIR pointing along my Velocity Vector on some distant objects. I adjusted and slewed the display to get a better look.
 Join a discussion forum on this article by clicking HERE.
|
|||
|
Copyright © 1997 - 2000 COMBATSIM.COM, INC. All Rights Reserved. Last Updated December 9th, 1999 |
||||
